
How to Make 2 Waffle Recipes: Classic German and Semolina Variations
Making authentic German waffles requires just two recipes: the classic crispy buttermilk waffle served at every Kaffeeklatsch and the silky-textured Grießwaffeln (semolina waffle) beloved in southern Germany. Each takes 20 minutes from mixing bowl to plate, but they deliver completely different experiences. The buttermilk version gives you that signature golden crunch on the outside with tender pockets inside, while semolina waffles offer a delicate, almost custardy bite that surprised me the first time I tasted them at a small café in Munich.
These recipes aren’t interchangeable. When chef Markus Klein at one of our favorite German dessert spots explained the difference, he said the buttermilk recipe is what grandmothers make on Sunday mornings, sturdy enough to hold Schlagsahne and strawberries. The semolina version, he noted, is what you serve to guests who think they know waffles. The fine grain of Grieß creates an entirely different structure, one that stays moist hours after cooking without turning soggy.
Both recipes use standard waffle irons and pantry staples, though the semolina version does require a 10-minute rest while the grains hydrate. That small wait transforms ordinary ingredients into something restaurant menus in Germany charge premium prices for, and you’ll master the technique on your first attempt.
Essential Tools and Ingredients for Both Waffle Recipes
A properly equipped kitchen makes the difference between perfect waffles and frustrating attempts. Both recipes require the same core tools but differ slightly in ingredients, so let’s walk through everything you need.
Equipment You’ll Need
Start with a quality waffle maker, preferably a Belgian or heart-shaped model that mimics traditional German designs. Look for one with adjustable temperature controls, as both recipes benefit from precise heat. You’ll also need two medium mixing bowls (one for wet ingredients, one for dry), a balloon whisk for incorporating air, measuring cups and spoons, a ladle or small pitcher for pouring batter, and a cooling rack. A silicone spatula helps scrape bowls clean, and tongs or a wooden skewer make removing hot waffles safer than using fingers.
Ingredients for Each Recipe
- Classic German Waffle: 4 eggs, 200g sugar, 250g butter (melted and cooled slightly), 500ml whole milk, 400g all-purpose flour (Type 405 if available), 2 tsp baking powder, 1 tsp vanilla extract, pinch of salt, pearl sugar for topping
- Semolina Waffle: 4 eggs, 150g sugar, 200g butter (melted and cooled), 400ml whole milk, 250g fine semolina flour (durum wheat, not instant), 150g all-purpose flour, 2 tsp baking powder, zest of 1 lemon, pinch of salt
For the classic version, use fine-grained white sugar and real butter, never margarine. The semolina recipe demands high-quality durum wheat semolina, the kind used for pasta, not coarse breakfast semolina. German Type 405 flour produces lighter waffles than standard North American all-purpose, but regular flour works if you sift it twice. Fresh baking powder matters too, check the expiration date, as old powder won’t give you the lift these batters need.
Important Tips Before You Start
Before you start making either of these two waffle recipes, a few key precautions and setup steps will help ensure success and safety in your kitchen.
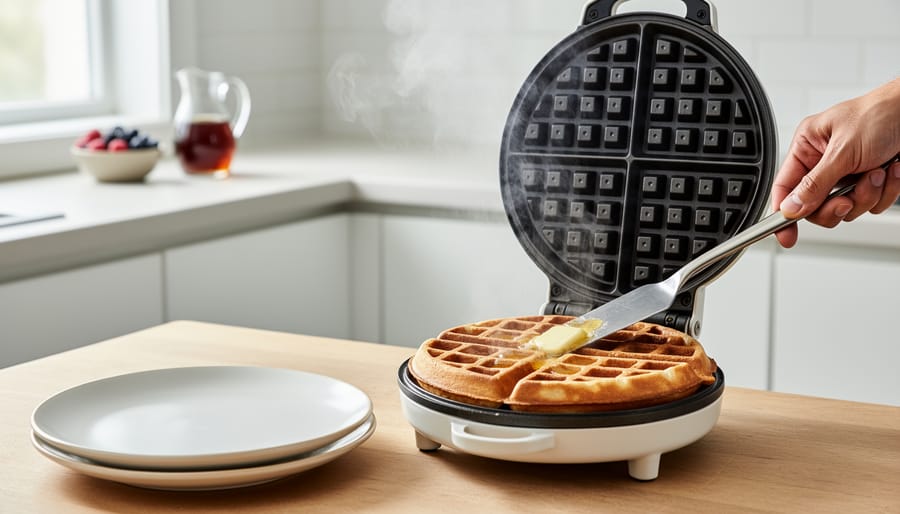
Preheat your waffle maker for at least five minutes before adding any batter. An insufficiently heated iron won’t crisp the exterior properly, leaving you with pale, soggy waffles that stick to the plates. Most models have an indicator light, but if yours doesn’t, hold your hand several centimeters above the surface, you should feel strong, even heat.
Check your batter consistency before cooking. Both the classic German recipe and the semolina variation should coat the back of a spoon but still pour smoothly. Too thick and your waffles turn dense and cake-like; too thin and they won’t hold their shape or develop proper texture.
Resist the urge to overmix. Stir just until the flour (or semolina) disappears into the wet ingredients, a few small lumps are fine and will dissolve during cooking. Overworked batter develops excess gluten, making waffles tough rather than tender.
Never open the waffle maker early, even if you’re curious. Steam will escape, the waffle tears, and the interior stays undercooked. Wait until steam production noticeably decreases and the indicator light (if present) signals readiness, typically four to five minutes per waffle, though semolina waffles may need thirty seconds longer.
Recipe 1: Classic German Waffle (Schritt für Schritt)
Mixing the Batter
Start by cracking four large eggs into your mixing bowl and whisking them until they’re light and frothy, about 30 seconds. This aerates the eggs and helps create a tender waffle. Add 150 grams of granulated sugar and continue whisking until the mixture turns pale yellow and slightly thick, roughly two minutes of steady whisking.
Melt 200 grams of unsalted butter and let it cool for a minute so it won’t cook the eggs when you add it. Pour the melted butter into your egg mixture in a slow, steady stream while whisking constantly. This gradual incorporation prevents the butter from separating. Next, pour in 400 milliliters of whole milk and whisk until everything is smoothly combined.
Now sift 400 grams of all-purpose flour directly into the bowl. The sifting step matters because it removes lumps and adds air, making your waffles lighter. Use a wooden spoon or rubber spatula to fold the flour into the wet ingredients with broad, gentle strokes. Stop mixing the moment you no longer see dry flour streaks, the batter should look slightly lumpy, not perfectly smooth. Overmixing develops gluten and makes waffles tough and chewy instead of crisp outside and tender inside.
The finished batter should coat the back of your spoon and fall in thick ribbons when lifted. If it’s too thick to pour easily, add a tablespoon of milk at a time until it flows smoothly.
Cooking Your Waffles
Preheat your waffle iron for at least five minutes before pouring any batter. Most German-style waffle makers work best at medium-high heat, around 180-190°C if your model has temperature control. If it doesn’t, use the medium-high setting and test with a small spoonful of batter first.
Pour approximately 60-80ml of batter into the center of the lower grid, then close the lid gently but firmly. Don’t peek for the first 2-3 minutes. Classic German waffles typically need 3-4 minutes total cooking time, though this varies by iron thickness and heat level.
You’ll know your waffle is ready when steam stops escaping from the sides and the iron opens easily without resistance. The waffle should lift cleanly from the grid with a light golden-brown color across both surfaces. If it sticks or tears, it needs another 30-60 seconds.
Use wooden or silicone tongs to remove your waffle, never metal utensils that can scratch the non-stick coating. Lift from one edge and slide it onto a cooling rack rather than stacking waffles directly on a plate, which traps steam and makes them soggy. The iron should sizzle immediately when you add the next portion of batter; if not, let it reheat for 30 seconds between waffles.
How to Know They’re Perfect
Your classic German waffle is ready when it turns a deep golden-brown color, think caramelized butter, not pale yellow. Watch the steam escaping from the sides of your waffle maker: when it slows to just a thin wisp instead of thick billows, you’re close. Gently lift the lid a crack after about four minutes; the waffle should release easily without sticking or tearing. Press the center lightly with your fingertip (carefully, it’s hot), it should feel firm and spring back, not soft or doughy. The edges will appear slightly darker and crispier than the middle. If you see wet batter or the waffle feels spongy, close the lid and give it another 30 seconds. A perfectly cooked waffle holds its shape when lifted and doesn’t sag or bend.
Recipe 2: Semolina Waffle (Grießwaffeln)
Preparing the Semolina Batter
Combine the semolina flour with regular flour in a large mixing bowl, whisking them together to prevent clumps before adding any wet ingredients. This dry-mixing step matters because semolina absorbs liquid differently than wheat flour and needs even distribution.
Crack your eggs into a separate bowl and whisk them with the sugar until the mixture turns pale and slightly frothy. Add the melted butter and milk, stirring until smooth. Pour this wet mixture into your flour blend gradually, whisking constantly in circular motions from the center outward. The batter will feel slightly grainier than the classic recipe, which is exactly what you want.
Here’s where semolina waffles diverge from the traditional approach: let the batter rest for 20 minutes at room temperature. During this resting period, the semolina granules absorb moisture and soften, creating that signature light texture while maintaining the crisp edges German cafés are known for. You’ll notice the batter thickens slightly as it rests.
The ideal consistency resembles thick pancake batter, flowing slowly off your whisk in ribbons rather than dripping. If it seems too thick after resting, add milk one tablespoon at a time until it reaches the right texture.
Cooking Semolina Waffles
Semolina batter behaves differently in your waffle iron than the classic recipe. Because semolina absorbs liquid more slowly, the batter stays slightly thicker even after resting, which means it spreads less readily across the grid. You will need to close the lid gently but firmly, allowing the weight of the top plate to help distribute the batter into the corners.
Cook semolina waffles at a slightly lower temperature than you used for the classic German waffles. If your iron has a numbered dial, drop it one setting. This prevents the exterior from browning too quickly before the semolina has fully cooked through. The baking time will be about 30 to 45 seconds longer, typically four to five minutes total instead of three to four.
Watch for a subtle shift in steam. Semolina waffles release less moisture initially, then produce a quick burst of steam as they near doneness. When that burst tapers off and the lid lifts easily without resistance, they are ready. The finished waffle should feel noticeably lighter than a classic waffle and release cleanly from the grid. If it sticks or feels heavy, give it another 30 seconds before checking again.
Testing for the Right Crispness
Perfect semolina waffles deliver a distinct snap when you lift them from the iron, signaling the crispy exterior that sets Grießwaffeln apart from their softer classic cousins. Press gently on the center with your fingertip, it should feel firm and spring back immediately, not compress or feel soggy. The surface will show deep golden ridges with slightly darker edges where the semolina has caramelized against the iron plates.
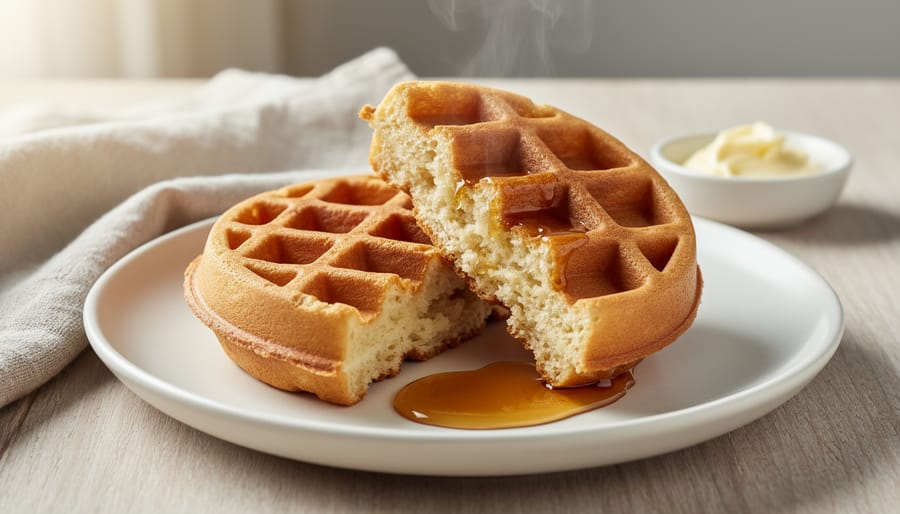
Listen for the sound: a properly cooked semolina waffle makes an audible crackle as you remove it, and the steam should have stopped completely before you open the iron. When you break or cut one open, the interior reveals a tender, almost custardy texture that contrasts beautifully with the shell. If the waffle bends easily without resistance, it needs another 30 seconds. The best test is to let one cool for about a minute on a wire rack, authentic Grießwaffeln maintain their crispness even at room temperature, unlike classic waffles that soften as they cool.
What Makes Each Recipe Unique
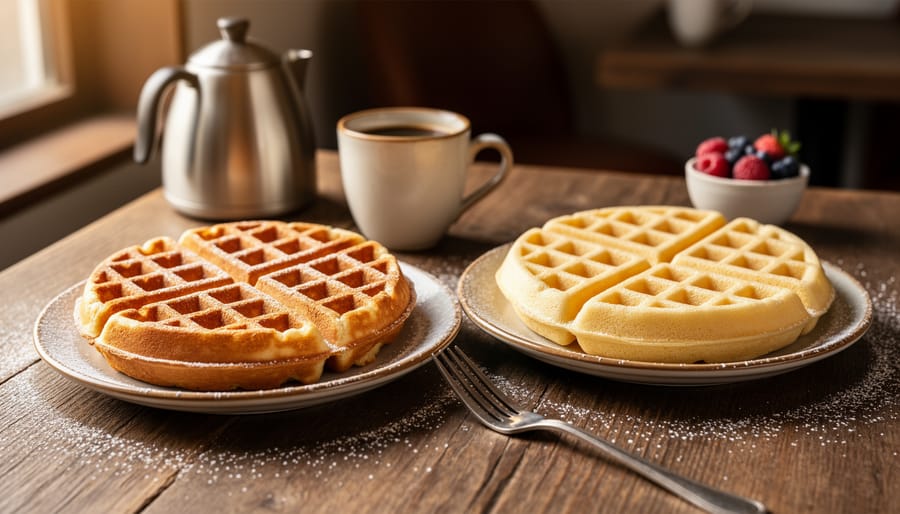
The classic German waffle presents a rich, buttery flavor with a golden-brown exterior that gives way to a soft, almost custardy center. The pearl sugar creates scattered pockets of caramelized sweetness throughout. These waffles hold their structure well under generous toppings like whipped cream and cherries, yet remain tender enough to pull apart with a fork.
Semolina waffles look noticeably paler, with a more delicate, lace-like surface pattern. Their texture contrasts sharply, crispy and almost shattery on the outside, yet still tender within. The semolina flour brings a subtle grain flavor and a finer crumb structure that feels lighter on the palate. This texture holds up exceptionally well to reheating, maintaining crispness that classic waffles often lose.
When you’re serving traditional German dessert or hosting Kaffeeklatsch, reach for the classic recipe. Its substantial body stands up to heavy toppings and delivers that nostalgic, home-baked warmth guests expect. The semolina version shines at brunch or when you want versatility, try it with Apfelmus for a sweet breakfast, or experiment with a savory pairing like smoked salmon and crème fraîche for something unexpected. The semolina’s neutral base and sturdy crispness adapt beautifully to whatever direction you choose.
Serving Suggestions and Next Steps
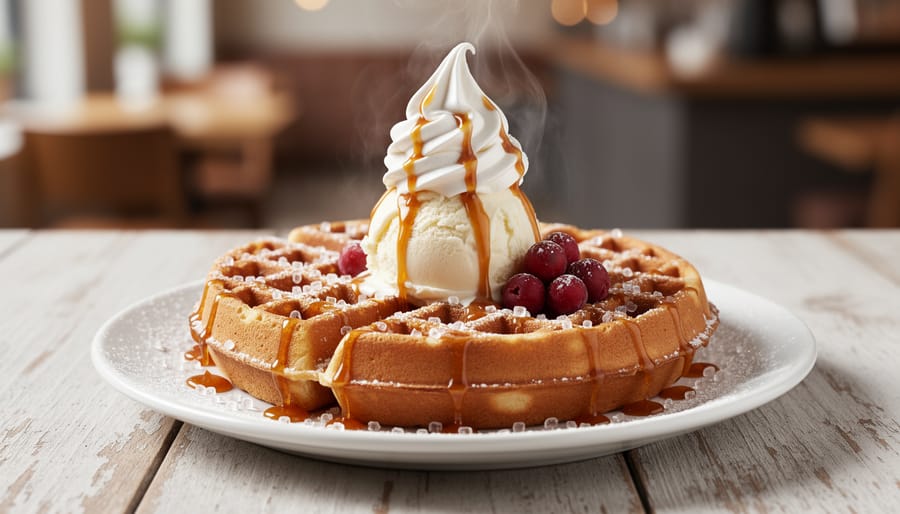
Serve your classic German waffles warm with traditional toppings that bring out their buttery richness. Apfelmus (German apple sauce) is the most authentic choice, offering a tart sweetness that balances the pearl sugar’s crunch. For semolina waffles, try whipped cream and Kirschen (cherries) to complement their lighter texture.
Traditional German toppings include:
- Apfelmus with a dusting of cinnamon
- Kirschen (sour cherries) in syrup or fresh
- Schlagsahne (whipped cream) with vanilla
- Nutella and sliced strawberries
- Powdered sugar and lemon zest
For adventurous pairings, consider savory morel topping ideas with semolina waffles during spring months.
Store cooled waffles in an airtight container for up to three days, or freeze them between parchment paper sheets for two months. Reheat in a toaster or 350°F oven for five minutes to restore crispness, never use a microwave, which makes them soggy.
Once you’ve mastered these two waffle recipes, explore variations with buckwheat flour or add grated lemon zest to the classic batter. You can also visit where to try waffles professionally prepared to gather more inspiration for your home baking.
Frequently Asked Questions
Can I make these 2 waffle recipes without a Belgian waffle maker?
Yes, both the classic German waffle and semolina variation work in regular waffle irons, though they’ll be thinner and crispier rather than thick and fluffy. Adjust cooking time down by 30-60 seconds and watch carefully to avoid burning.
How do I store leftover waffles from either recipe?
Cool completely on a wire rack, then stack with parchment paper between each waffle and refrigerate for up to 3 days. Reheat in a toaster or 180°C oven for 3-4 minutes to restore crispness.
Which of the 2 waffle recipes is easier for beginners?
The classic German waffle is more forgiving since the batter comes together quickly without resting time. The semolina version requires 15-20 minutes of rest and slightly more attention to consistency.
Can I freeze waffles made from these recipes?
Both freeze beautifully for up to 2 months. Freeze in a single layer on a baking sheet first, then transfer to freezer bags, and reheat directly from frozen in a toaster or oven.
Now that you’ve mastered both waffle styles, experiment with your own toppings and serving ideas. The classic recipe pairs wonderfully with seasonal fruit compotes, while the semolina waffles shine with simple powdered sugar and a squeeze of lemon. Keep your waffle iron well-seasoned and properly preheated, and you’ll turn out perfect batches every time.