
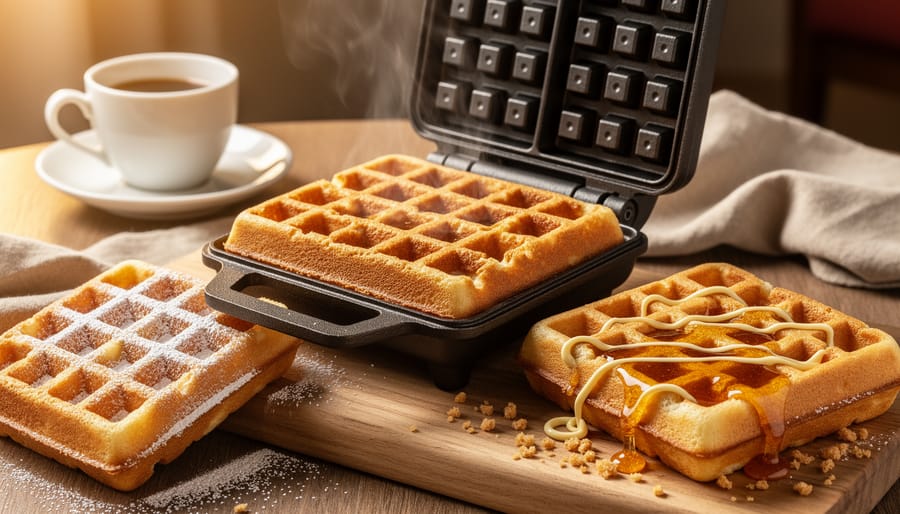
How to Make 2 Waffle Recipes with Semolina for Crispy German-Style Breakfast
Making semolina waffles at home requires just 30 minutes and basic kitchen tools, and this guide delivers two distinct recipes that showcase the grain’s unique texture and versatility. The first is a traditional German-style crispy waffle, golden and delicate, perfect for afternoon coffee alongside a light dusting of powdered sugar. The second is a sweeter variation that incorporates vanilla and honey, transforming semolina into a breakfast treat with a tender crumb and subtle nutty flavor.
Semolina, the coarsely ground durum wheat flour that gives pasta its bite, creates waffles with a surprising lightness and a satisfying crunch that standard all-purpose flour simply can’t match. German bakers have long understood this quality, which is why Grießwaffeln appear in cafés and home kitchens across Bavaria and beyond. The grain’s higher protein content produces a sturdy structure that crisps beautifully in a hot waffle iron while maintaining a soft interior.
Both recipes in this guide use straightforward techniques accessible to any home cook, whether you’re preparing Sunday brunch or searching for a new way to experience German baking traditions. I consulted with Monika Hoffmann, a pastry chef at a family-run konditorei in Heidelberg, who shared the key to her semolina waffles’ signature texture: resting the batter for 15 minutes before cooking. This simple step allows the semolina to hydrate fully, preventing grittiness and ensuring even cooking.
You’ll find complete ingredient lists, step-by-step instructions, and practical tips for achieving the ideal golden-brown exterior that signals a perfectly cooked waffle.
Why Semolina Makes Exceptional Waffles
Semolina flour transforms ordinary waffles into something extraordinary, and the science behind it is surprisingly straightforward. Unlike all-purpose wheat flour, semolina is milled from durum wheat, creating coarser granules that form a sturdier protein network when mixed with liquid. This structure traps steam during cooking, producing a crisp, golden shell while keeping the interior tender and almost custard-like.
The texture difference becomes obvious the moment you bite into a semolina waffle. Where traditional all-purpose flour can produce a soft, cake-like result that turns limp within minutes, semolina maintains its crunch even as it cools. The slightly yellow color, inherited from the durum wheat’s high carotenoid content, signals a deeper, nuttier flavor that pairs beautifully with both sweet and savory toppings.
German bakers have relied on semolina for centuries, particularly in southern regions where proximity to Italian and Austrian culinary traditions made durum wheat readily available. You’ll find it in everything from Grießklößchen (semolina dumplings) to Grießbrei (semolina porridge), staples that showcase the grain’s versatility. In waffle making, German cooks discovered that semolina’s ability to absorb liquid slowly prevented the batter from becoming gummy, a common problem with overmixed all-purpose flour batters.
The practical advantage becomes clear when you’re serving a crowd: semolina waffles stay crispy on a serving platter while you finish the batch, whereas regular waffles often need immediate serving to avoid turning soft. This resilience, combined with the distinctive texture and flavor, makes semolina the secret ingredient in traditional German waffle recipes.
Essential Tools and Ingredients You’ll Need
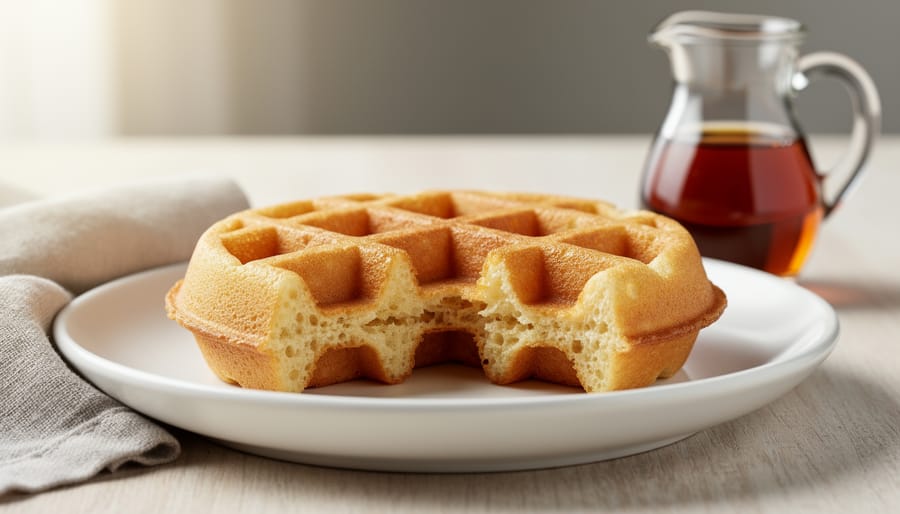
The waffle iron is your most critical piece of equipment, and choosing the right one matters for these two semolina recipes. Traditional German waffle irons create thinner, crispier waffles with shallow pockets, while Belgian-style irons produce thicker waffles with deep grids that hold more toppings. For authentic results with Recipe 1, a traditional European-style iron with a heart or rectangular shape works best, though a Belgian iron will still deliver excellent texture thanks to semolina’s natural crispness. Recipe 2, being slightly sweeter and lighter, adapts well to either style.
Beyond the iron, you need standard mixing equipment: two medium mixing bowls (one for dry ingredients, one for wet), a wire whisk or electric hand mixer, and measuring cups and spoons. A ladle or measuring cup with a pour spout makes portioning batter onto the iron much easier and cleaner. A silicone spatula helps you scrape every bit of batter from the bowl, and a cooling rack prevents finished waffles from becoming soggy while you cook the rest of the batch.
- Waffle iron (traditional German style or Belgian, preheating capability essential)
- Two medium mixing bowls
- Wire whisk or electric hand mixer
- Measuring cups and spoons (dry and liquid measures)
- Ladle or pour-spout measuring cup
- Silicone spatula
- Wire cooling rack
- Fine semolina flour (durum wheat, about 500g total for both recipes)
- All-purpose flour (for Recipe 2 only, about 200g)
- Fresh eggs (10-12 large eggs total)
- Unsalted butter (250g, plus extra for greasing)
- Whole milk (600ml total)
- Granulated sugar (for Recipe 2)
- Vanilla extract (for Recipe 2)
- Baking powder (for Recipe 2)
- Fine sea salt
- Optional: pastry brush for greasing, kitchen timer, digital kitchen scale
Semolina flour is typically labeled as “fine semolina” or “semolina flour” in the baking aisle, distinct from coarse semolina used for pasta. Look for durum wheat semolina at European specialty stores, Italian markets, or bulk food retailers. The pale yellow color and slightly grainy texture distinguish it from regular wheat flour. If you have a kitchen scale, weighing ingredients improves consistency, especially with semolina, which can pack differently than all-purpose flour when measured by volume.
Important Safety and Preparation Tips
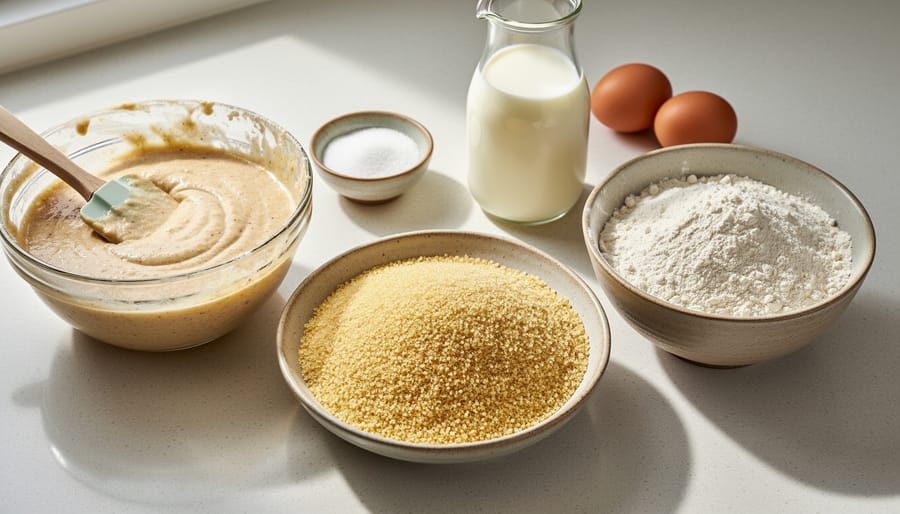
Before you make either semolina waffle recipe, a few key preparation and safety steps will ensure successful results and prevent kitchen mishaps. Hot waffle irons present genuine burn risks, and semolina batter behaves differently than standard waffle batter, so understanding these details upfront matters.
Always preheat your waffle iron for at least five minutes before adding the first batch of batter. A properly heated iron creates the signature crisp exterior that makes semolina waffles exceptional. Listen for the audible click or wait for the indicator light on electric models rather than guessing at readiness.
Semolina batter requires a 15-30 minute rest after mixing to allow the coarse grains to hydrate fully. Skipping this step produces gritty waffles with poor texture. The rested batter should pour smoothly but hold its shape slightly, think thick pancake batter rather than thin crepe batter. If it’s too thick, whisk in milk one tablespoon at a time.
For dietary considerations, semolina contains gluten (it’s durum wheat), so these recipes aren’t suitable for celiac diets. You can replace eggs with flax eggs (one tablespoon ground flaxseed plus three tablespoons water per egg, rested for five minutes), though this changes the texture slightly and reduces crispness. Store cooked waffles in a single layer once fully cooled, stacking them while warm creates condensation that ruins the crispy exterior you worked to achieve.
Recipe 1: Traditional German Crispy Semolina Waffles
Ingredients and Measurements
Traditional German Crispy Semolina Waffle (Recipe 1)
– 250 grams (2 cups) fine semolina flour
– 4 large eggs, separated
– 500 milliliters (2 cups) whole milk, lukewarm
– 100 grams (7 tablespoons) unsalted butter, melted and cooled slightly
– 30 grams (2 tablespoons) granulated sugar
– 1 teaspoon vanilla extract
– 1/2 teaspoon fine sea salt
– 1/4 teaspoon ground nutmeg (optional, traditional German addition)
This recipe yields approximately 8 to 10 medium waffles, depending on your iron’s size. The separated eggs are crucial: yolks get mixed into the batter first, while whites are beaten to stiff peaks and folded in just before cooking to create that signature airy interior beneath the crispy exterior. Use room-temperature eggs for easier separation and better volume when whipping the whites.
Step-by-Step Preparation
Start by combining your dry and wet ingredients separately before bringing them together. In a large bowl, whisk the semolina flour gently to break up any clumps. In a separate bowl, beat the eggs until they’re light and slightly frothy, then add the melted butter and milk. Pour the wet mixture into the semolina and fold together using a wooden spoon or rubber spatula. Stop mixing as soon as no dry streaks remain. The batter should look slightly thicker than pancake batter, with a consistency similar to heavy cream. Don’t worry if you see a few small lumps; overmixing creates tough waffles.
Cover the bowl with a clean kitchen towel and let it rest for 15 to 20 minutes at room temperature. This resting period allows the semolina to absorb the liquid fully, which gives you that signature crispy exterior. While the batter rests, preheat your waffle iron to medium-high heat. For traditional German waffle irons, aim for a setting that produces golden-brown results in three to four minutes.
Lightly brush the iron plates with melted butter or spray with cooking oil, even if your iron has a nonstick coating. Pour about half a cup of batter onto the center of the lower plate, adjusting based on your iron’s size. Close the lid gently and resist the urge to open it for the first two minutes. The waffle is ready when steam stops escaping from the sides and the lid lifts easily without resistance. If it sticks, give it another 30 seconds.
You’ll know your waffle is perfect when it releases cleanly, shows deep golden-brown color across the surface, and feels crisp when you tap the edge with a fork.
Serving Suggestions
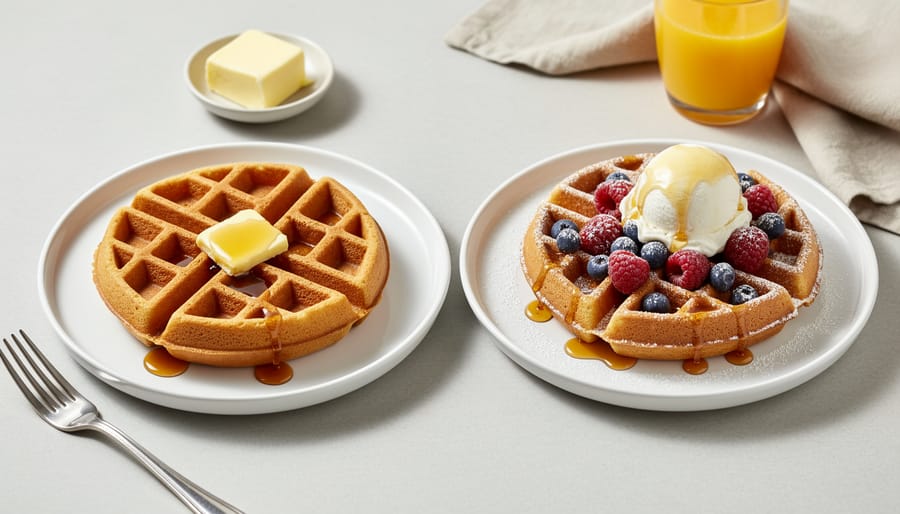
In Germany, these crispy waffles shine with simple, traditional toppings that let the semolina’s texture come through. Dust them generously with powdered sugar (Puderzucker) and serve alongside tangy fruit compotes, Apfelmus (applesauce), plum compote, or cherry preserves are breakfast staples. A dollop of lightly sweetened Schlagsahne (whipped cream) adds richness without overpowering the waffle’s delicate grain.
For modern twists, try warm berry compote, lemon curd, or a drizzle of honey. If you’re preparing multiple batches, keep finished waffles on a wire rack in a 200°F oven, never stack them or cover with foil, which traps steam and ruins the crisp exterior you worked to create.
Recipe 2: Sweet Semolina-Wheat Hybrid Waffles
Ingredients and Measurements
This second waffle recipe combines 180g (1½ cups) semolina flour with 120g (1 cup) all-purpose flour for a lighter texture while maintaining the signature crisp. You’ll need 3 large eggs at room temperature, 60g (¼ cup) unsalted butter melted and slightly cooled, and 480ml (2 cups) whole milk. Add 50g (¼ cup) granulated sugar for sweetness, 2 teaspoons pure vanilla extract, 2 teaspoons baking powder, and ½ teaspoon salt. The 60/40 semolina-to-wheat ratio delivers excellent structure without the density of pure semolina, perfect for sweeter toppings. Measure semolina by weight when possible, as its coarse grains create inconsistent cup measurements that affect texture.
Step-by-Step Preparation
Start by whisking together 180g semolina flour and 120g all-purpose flour in a large mixing bowl, this 60/40 ratio gives you the best of both worlds. The semolina delivers that signature crispy texture, while the wheat flour lightens the crumb and helps the waffles rise. Add 2 tablespoons granulated sugar and 1½ teaspoons baking powder directly to the flour blend, then whisk for 30 seconds to distribute the leavening evenly.
In a separate bowl, beat 3 large eggs until just combined, then pour in 375ml whole milk, 85g melted butter, and 1 teaspoon vanilla extract. Whisk until smooth. Pour the wet mixture into your flour bowl and stir with a wooden spoon or spatula, mix only until the dry patches disappear. A few small lumps are fine. Overmixing develops gluten and makes waffles tough, so stop as soon as you see a unified batter.
Let the batter rest for 15 minutes at room temperature. During this time, the semolina absorbs moisture and the baking powder starts activating, which gives you a lighter interior.
Preheat your waffle iron to medium-high. Lightly brush the grids with melted butter or spray with cooking oil, even if you have a non-stick model, this extra step ensures clean release and a golden crust. Pour enough batter to cover about two-thirds of the bottom grid. Close the lid and cook for 3 to 4 minutes. You’ll know the waffle is ready when steam stops escaping and the edges turn golden brown.
Lift the lid carefully. The waffle should release easily and feel crisp to the touch. If it sticks or looks pale, cook for another 30 seconds and check again.
Serving Suggestions
The sweeter semolina-wheat hybrid pairs beautifully with maple syrup drizzled generously over the top, allowing it to seep into the waffle’s pockets. Fresh berries, strawberries, blueberries, or raspberries, add brightness and contrast to the rich batter. A dollop of whipped cream or a dusting of powdered sugar elevates the presentation for brunch gatherings. For chocolate lovers, try drizzling warm Nutella or melted dark chocolate across the surface. Stack waffles on a warm platter and serve family-style, or plate individually with garnishes arranged alongside. If you’re feeling adventurous, top with sautéed seasonal fruit (you can cook morel mushrooms for a savory twist at lunch) or explore brunch menus where you try German classics for more inspiration. Keep finished waffles warm in a 200°F oven on a wire rack to maintain crispness while you cook the remaining batter.
How to Tell When Your Waffles Are Perfect
Perfect semolina waffles reveal themselves through specific visual and tactile markers that you can learn to recognize quickly. Watch for a rich golden-brown color across the entire surface, both recipes should develop this deep hue evenly when fully cooked. Steam plays a critical role: when the heavy steam release slows to occasional wisps, your waffle is typically ready. Most waffle irons also stop producing significant steam condensation around the edges at this point.
To verify doneness, check these indicators:
- Deep golden-brown color with no pale spots remaining
- Steam emission reduced to minimal wisps
- Edges look crisp and slightly darker than the center
- Waffle releases easily from iron plates without sticking
- Surface feels firm when lightly touched with a spatula
For texture verification, gently lift one edge with a heat-resistant spatula. The waffle should release cleanly and feel structurally firm, not floppy. A proper semolina waffle produces an audible crunch when you break off a piece, with a tender interior that’s fully cooked through without any wet batter pockets.
Timing varies by iron model, traditional German irons typically need four to five minutes, while Belgian-style models often require three to four minutes for similar results. If you encounter soggy centers, increase cooking time by 30 seconds and ensure your iron reaches full temperature before adding batter. Burnt edges with undercooked centers signal too-high heat; reduce your temperature setting one notch. Sticking issues usually mean insufficient preheating or too little fat in your batter. For those wanting creative variations, consider a morel topping idea for an elegant savory twist on Recipe 1.
Storage, Reheating, and Next Steps
Store leftover waffles in an airtight container for up to three days in the refrigerator, or freeze them between sheets of parchment paper for up to three months. Freezing preserves texture better than refrigeration for longer storage.
To restore crispness, reheat in a toaster or toaster oven at medium setting for two to three minutes. An oven at 375°F works well for larger batches, place waffles directly on the rack for five to seven minutes. Air fryers excel at reviving crispness: three minutes at 350°F produces excellent results. Avoid microwaving, which creates soggy waffles.
Once you’ve mastered these two semolina recipes, experiment with savory variations. Add grated cheese and herbs to the batter, or top finished waffles with scrambled eggs and a savory waffle topping like sautéed mushrooms. For seasonal twists, fold cinnamon and grated apple into autumn batches, or add lemon zest and blueberries in summer.
These semolina waffles open the door to broader German breakfast traditions. Consider exploring Kaiserschmarrn (shredded pancake), Brötchen (breakfast rolls), or traditional spreads like Quark with honey. For more authentic German brunch inspiration visit established restaurants that showcase regional morning specialties. The techniques you’ve learned here, precise measurement, proper resting, and careful temperature control, apply across German baking and will serve you well as you expand your repertoire.
Common Questions About Semolina Waffles
Can I substitute semolina flour with all-purpose flour?
You can, but you’ll lose the signature crispy texture and nutty flavor that semolina provides. If you must substitute, use a mix of all-purpose flour and cornmeal (3:1 ratio) to approximate the coarse texture, though the results won’t match the authentic German crisp.
How do I prevent waffles from sticking to the iron?
Preheat your iron thoroughly until the ready light indicates it’s hot, then brush both plates lightly with melted butter or neutral oil before the first waffle. Non-stick spray works, but butter adds flavor and creates a better release surface for semolina batters.
Can I make the batter ahead of time?
Yes, refrigerate either recipe’s batter for up to 24 hours in a covered container. Let it sit at room temperature for 15 minutes before cooking, and give it a gentle stir since the semolina may settle. The texture improves slightly after resting.
What’s the difference between these and Belgian waffles?
Belgian waffles use yeast or extra baking powder for a thick, fluffy interior with deep pockets, while these German-style semolina waffles prioritize a thin, crispy exterior with a tender center. The semolina flour creates a denser, more substantial waffle with finer grid patterns.
Are semolina waffles gluten-free?
Semolina from durum wheat contains gluten, so these recipes aren’t suitable for celiac disease or gluten intolerance. There’s no reliable gluten-free substitute that replicates semolina’s unique texture in waffles.
How do I adjust these recipes for high altitude?
Above 3,000 feet, reduce baking powder by one-quarter and increase liquid by 2-3 tablespoons per cup of flour. You may also need to cook waffles 30-60 seconds longer since lower air pressure affects browning and moisture evaporation.
These questions cover the practical hurdles most home cooks encounter when working with semolina for the first time. The flour’s coarser grind behaves differently than standard wheat flour, which explains why preparation and cooking techniques matter more than with conventional waffle recipes. Once you understand these adjustments, both recipes become straightforward to execute with consistent results.