
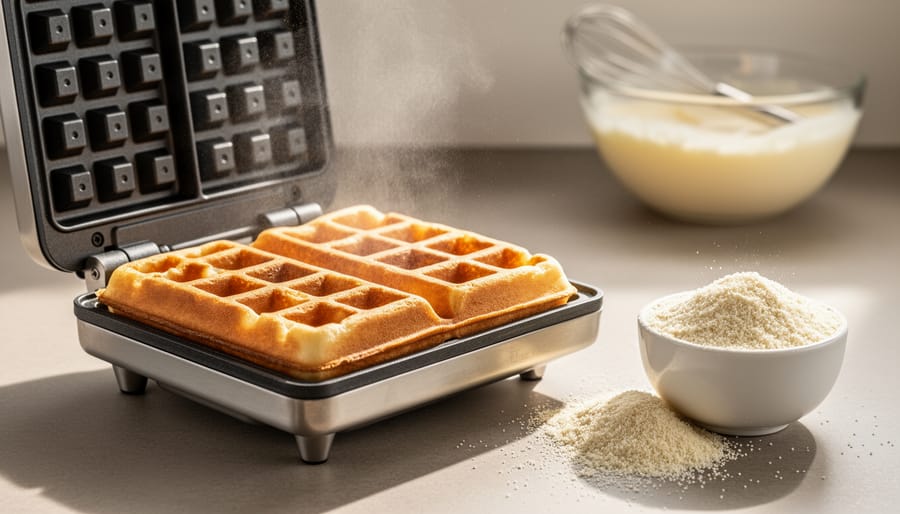
How to Make the Perfect Belgian Waffle Recipe (Serious Eats Style) with Semolina
Belgian waffles made with semolina flour deliver a transformative crispy-on-the-outside, tender-within texture that standard all-purpose flour simply can’t match. The coarser semolina granules create a golden, shatteringly crisp exterior while maintaining a pillowy interior, and the subtle nutty flavor adds depth that complements both sweet and savory toppings. Using a Serious Eats-style approach, this recipe takes approximately 90 minutes from start to finish, including a crucial 60-minute rest period that allows the semolina to properly hydrate and develop structure.
The science behind semolina’s superiority lies in its protein content and particle size. Ground from durum wheat, semolina contains about 12-13% protein compared to all-purpose flour’s 10-12%, creating a stronger gluten network that supports those characteristic deep pockets. The larger granules also absorb liquid more slowly, preventing the batter from becoming gummy while producing steam pockets that puff the waffle from within. This technique bridges Belgian waffle mastery with broader European grain traditions, where coarser flours have long been prized for their textural contributions to breads and pastries across German-speaking regions and beyond.
What You’ll Need: Essential Tools and Ingredients
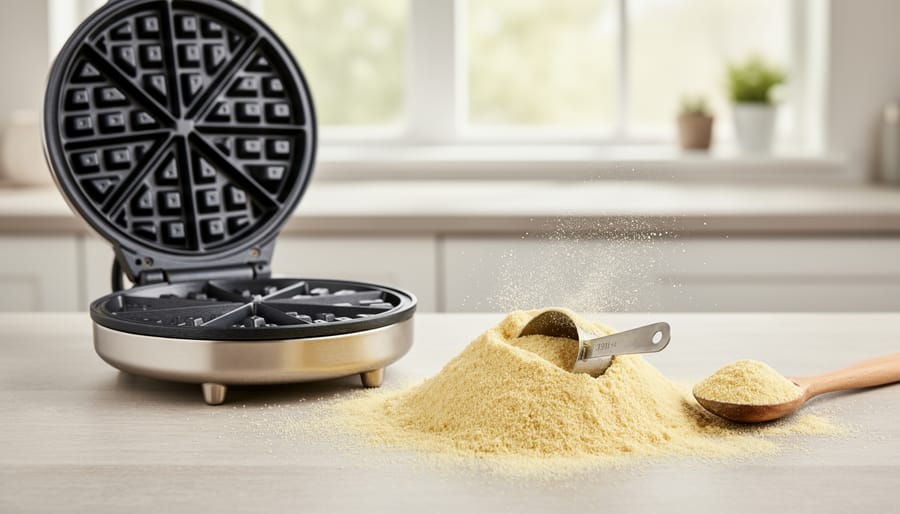
The Right Waffle Iron Makes All the Difference
Choosing the right waffle iron isn’t just about convenience, it determines whether you’ll achieve that signature contrast between a shatteringly crisp exterior and fluffy interior. Belgian-style waffle makers feature deeper grid pockets (typically 1 to 1.5 inches) compared to standard American models, which creates more surface area for browning and allows the batter to expand properly. This depth is essential when working with semolina, as the coarser flour needs room to develop its characteristic texture.
Temperature control separates mediocre waffles from exceptional ones. Look for models with adjustable heat settings rather than single-temperature units. Semolina batters respond best to moderate-high heat (around 375°F), which crisps the exterior without burning before the interior cooks through. A indicator light helps, but listen for the steam, when it slows to a trickle, you’re close.
Non-stick coating quality varies wildly. Ceramic coatings resist high heat well but require careful handling, while traditional non-stick surfaces need regular seasoning with neutral oil. European models, particularly those from Belgium and Germany, often run hotter and feature heavier cast plates that retain heat better than lighter North American versions, though they take longer to preheat.
Semolina Flour: Your Secret Weapon
Semolina flour transforms Belgian waffles from good to extraordinary, and understanding which type to buy makes all the difference. You’ll find two main varieties at most well-stocked grocery stores or Italian specialty shops: fine semolina (sometimes labeled “semolina flour”) and coarse semolina (often called “semolina” or “durum wheat semolina”). For waffles, fine semolina works best because it integrates smoothly into batter while still providing that distinctive texture.
The magic happens because semolina contains more protein than standard all-purpose flour, creating a sturdy structure that crisps beautifully in high heat. Those tiny granules also absorb moisture differently, producing waffles with crispy exteriors that stay light inside rather than turning dense.
In German bakeries, bakers have long used semolina in Grießbrei (semolina pudding) and certain bread recipes, while Italian nonnas rely on it for pasta and sweet pastries. A German baker once told me that semolina’s “toothy” quality reminds him of the satisfying crunch in a proper Brötchen crust. That same principle applies here: the flour’s structure holds up against steam and heat, delivering the texture contrast that makes Belgian waffles memorable.
Look for Bob’s Red Mill, King Arthur, or imported Italian brands in the baking aisle or bulk bins.
Important Tips Before You Begin
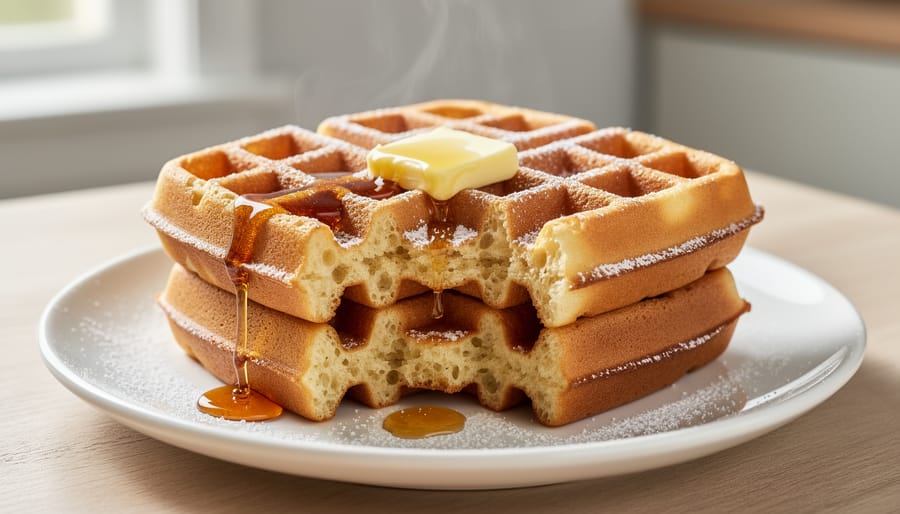
Before you start mixing ingredients, let’s cover a few critical points that separate fluffy, crisp Belgian waffles from disappointing ones. These aren’t just suggestions, they’re the difference between success and a soggy mess.
Your batter consistency determines everything. It should pour like thick pancake batter, flowing smoothly but not watery. Too thick, and your waffles won’t spread into those deep pockets. Too thin, and they’ll be flat and fragile. When you lift the whisk, the batter should form ribbons that slowly dissolve back into the bowl. If it plops off in chunks, add a tablespoon of milk at a time until you reach the right texture.
Patience isn’t optional here. Yeasted batters need that full resting time (typically 30-90 minutes depending on the recipe) to develop flavour and structure. The yeast creates tiny air pockets that semolina’s protein network captures beautifully, giving you that signature contrast between crispy exterior and tender interior. Cutting the rest short means flat, dense waffles no matter how good your iron is.
Rushing the cooking process kills texture too. Opening the waffle iron before steam stops escaping tears the waffle apart and leaves the interior gummy. That initial blast of steam is moisture escaping as the batter sets, interrupt it, and you’ve ruined the crisp you worked to build. Wait for the steam to diminish to wisps before checking.
Step-by-Step: Making Semolina Belgian Waffles
Preparing the Batter
Step 1: Combine Your Dry Ingredients
Start by whisking together 1½ cups semolina flour, ½ cup all-purpose flour, 2 tablespoons sugar, and ½ teaspoon salt in a large mixing bowl. The semolina’s coarser texture needs this thorough whisking to distribute evenly and prevent clumping. You’ll notice the mixture has a slightly golden hue compared to standard waffle batters.
Step 2: Activate the Yeast
In a separate bowl, warm 1¾ cups whole milk to about 110°F, it should feel like a comfortable bath on your wrist. Sprinkle 2¼ teaspoons active dry yeast over the milk and add a pinch of the sugar mixture. Let it sit for 5-7 minutes until foamy. This blooming step ensures your yeast is alive and ready to create those signature airy pockets.
Step 3: Build the Wet Mixture
Crack 2 large eggs into the yeast-milk mixture and add 6 tablespoons melted butter (cooled slightly) plus 1 teaspoon vanilla extract. Whisk vigorously until the eggs are completely incorporated and the mixture turns pale yellow.
Step 4: Achieve Perfect Consistency
Pour the wet ingredients into your dry mixture. Using a wooden spoon or rubber spatula, fold gently until just combined, some small lumps are fine. The semolina creates a batter that’s thicker than you might expect, almost like pancake batter. Its higher protein content develops gluten strands that give structure without toughness, creating waffles that stay crisp outside while remaining tender within.
The Resting Period: Why Patience Pays Off
After you’ve mixed your batter to a smooth consistency, cover the bowl with plastic wrap or a clean kitchen towel and let it rest for 30 to 60 minutes at room temperature. This isn’t just downtime, it’s when the magic happens.
During this period, the yeast (if you’re using it) quietly ferments the sugars in your batter, producing tiny carbon dioxide bubbles that create those airy pockets inside your waffles. The semolina flour also absorbs liquid differently than all-purpose flour, swelling gradually as its coarse particles hydrate fully. This absorption is what gives you that distinctive tender crumb beneath the crispy shell.
You’ll know your batter is ready when it looks slightly puffed and shows small bubbles across the surface. It should have a thicker, more relaxed consistency than when you first mixed it. If you’re working with a baking powder version instead of yeast, a 15-minute rest still helps the semolina hydrate properly, though you won’t see as much rise.
Don’t skip this step. Rushing straight to the waffle iron means dense, gummy waffles that never reach their full potential.
Cooking to Golden Perfection
Step 6: Preheat Your Waffle Iron Properly
Set your Belgian waffle maker to medium-high heat and let it preheat for at least five minutes. The plates need to reach the right temperature before the batter hits them, or you’ll end up with pale, soggy waffles that stick. Most quality irons have an indicator light, but don’t trust it completely. After the light signals readiness, wait another minute. The semolina batter performs best when it meets serious heat right from the start, creating that signature crispy shell while the interior stays custardy.
Step 7: Portion the Batter Carefully
Lightly spray or brush the iron with neutral oil, even if it’s non-stick. Pour batter into the centre of the lower grid, using about three-quarters to one cup depending on your iron’s size. Don’t overfill. The batter will spread and rise as it cooks, and overflow makes a mess that burns onto the plates. Close the lid gently but firmly.
Step 8: Resist the Urge to Peek
Cook for four to five minutes without opening the iron. Semolina waffles need uninterrupted heat to develop their structure. You’ll see vigorous steam billowing out at first, then it tapers off dramatically. That’s your primary cue.
Step 9: Check for Doneness
When steam reduces to occasional wisps, carefully lift the lid. The waffle should be deep golden brown with crisp edges. If it resists when you try to lift it, close the iron and give it another thirty seconds. A properly cooked semolina waffle releases easily and holds its shape without sagging.
How to Tell When Your Waffles Are Done
Knowing when to remove your semolina Belgian waffles from the iron is crucial for achieving that signature crispy-tender texture. Semolina waffles actually provide clearer doneness signals than their all-purpose flour counterparts, making them more forgiving for home cooks once you know what to watch for.
The most reliable indicators work together as a system:
- Deep golden-brown color across the entire surface, not pale yellow
- Steam production drops dramatically or stops completely
- Gentle resistance when you lift the waffle iron lid, the waffle shouldn’t stick or pull apart
- Edges feel firm and crisp when touched lightly with a fork
The visual cue differs slightly from standard waffles. Semolina creates a richer, amber-toned golden color rather than the lighter yellow-brown you’d see with all-purpose flour. This deeper hue develops because semolina’s higher protein content promotes better Maillard reactions, the chemical process that creates that irresistible toasted flavor.
Steam reduction is your most trustworthy friend. When you first close the waffle iron, you’ll see vigorous steam escaping from the sides. As the batter cooks, this steam carries away moisture. Once the steam becomes minimal or disappears entirely, your waffle is nearly done. Give it another 15-20 seconds, then try the lift test: open the lid gently. A properly cooked semolina waffle will release cleanly with just a light tug, leaving crisp ridges intact. If it resists or tears, close the lid and wait another 30 seconds before checking again.
Serving Suggestions and Next Steps
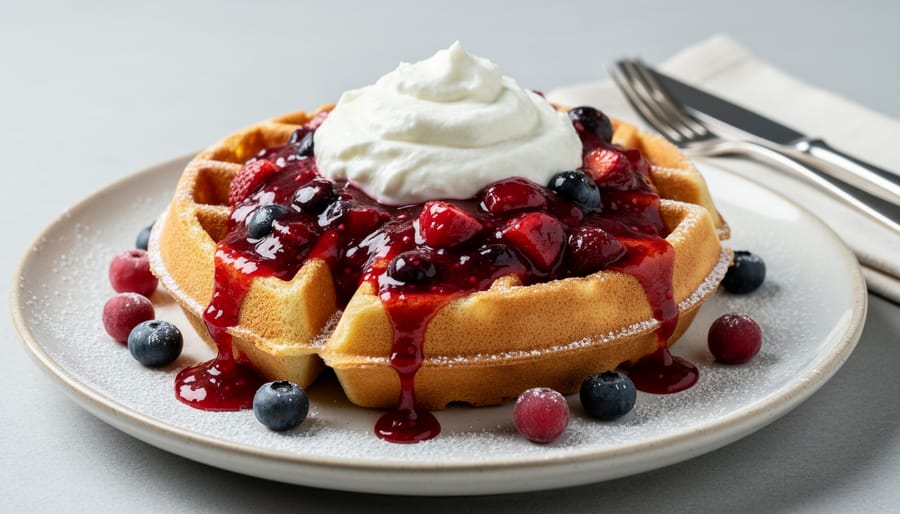
Your freshly made semolina Belgian waffles deserve thoughtful accompaniments that honor both Belgian and Central European traditions. Serve them immediately while the exterior remains shatteringly crisp and the interior stays pillowy.
For authentic Belgian toppings, dust with powdered sugar and add fresh whipped cream with seasonal berries. Warm fruit compotes, particularly sour cherry, plum, or berry varieties popular in German-speaking regions, provide a tangy counterpoint to the waffle’s mild sweetness. Spread a thin layer of quark, the fresh cheese staple of German-style breakfast tables, then drizzle with honey or fruit preserves.
Chef Klaus Zimmermann from Frankfurt’s Café Hauptwache notes: “Waffles bridge our breakfast cultures beautifully. In Germany, we’d serve these with Apfelmus and a coffee, while Belgians might add chocolate. Both approaches celebrate the waffle’s versatility.”
For chocolate lovers, melt dark Belgian chocolate with a splash of cream for dipping. Avoid heavy syrups that make semolina waffles soggy.
Storage and Reheating
Cool waffles completely on a wire rack before storing, never stack them hot or condensation destroys crispness. Refrigerate in an airtight container for up to three days, separated by parchment paper.
To reheat and restore crispness, use your oven or toaster oven at 350°F for 5-7 minutes. Never microwave, which turns them rubbery. A toaster works for thinner waffles but risks breaking thicker Belgian styles.
For longer storage, freeze cooled waffles in a single layer on a baking sheet, then transfer to freezer bags separated by parchment. They’ll keep three months. Reheat frozen waffles directly in a 375°F oven for 10-12 minutes without thawing.
Make extra batter for weekend mornings, it keeps refrigerated for 24 hours, though you may need to thin it slightly with milk before cooking.
Common Questions About Semolina Belgian Waffles
Can I use all semolina flour instead of mixing it with regular flour?
Pure semolina creates denser, grittier waffles that lack the light interior texture Belgian waffles need. A 50-50 or 60-40 blend of all-purpose to semolina delivers the ideal balance of crispy exterior and tender crumb.
What if I don’t have a Belgian waffle maker?
Standard waffle irons work but produce thinner waffles with less dramatic texture contrast. You’ll get crispness from the semolina but miss the deep pockets and substantial chew that define Belgian-style waffles.
How long does the batter keep in the refrigerator?
Yeast-based batter holds for up to 24 hours covered in the fridge, though it continues fermenting slowly. Baking powder versions should be used within 2 hours for optimal rise and texture.
Can I make these waffles dairy-free?
Replace milk with oat or almond milk and use plant-based butter. The texture shifts slightly since dairy fat contributes to browning and richness, but semolina still delivers excellent crispness.
Why are my waffles coming out soggy instead of crispy?
Insufficient cooking time, low iron temperature, or too much liquid in the batter cause sogginess. Let the steam fully subside before opening the iron, and don’t stack hot waffles, which traps moisture.
What’s the difference between Belgian waffles and Liège waffles?
Belgian waffles use a thin batter and have deep, rectangular pockets, while Liège waffles are denser, made from yeasted dough with pearl sugar that caramelizes during cooking. Both styles appear in Central European breakfast traditions, though you’ll find variations at German restaurants that adapt regional recipes.
These questions cover the most common stumbling blocks home cooks encounter when adapting semolina waffle recipes for the first time. The beauty of this technique lies in its flexibility: once you understand how semolina interacts with liquid and heat, you can adjust ratios to match your texture preferences. Don’t hesitate to experiment with different semolina grades or blends until you find your perfect balance of crunch and tenderness.
Semolina transforms Belgian waffles from merely good to genuinely exceptional. That crispy exterior with the tender, almost creamy interior you just achieved? That’s the semolina working its magic, creating textures impossible with standard flour alone. You’ve now mastered a technique that bridges two rich baking traditions, Belgian ingenuity and the Central European appreciation for quality grains.
This recipe rewards experimentation. Try different semolina grades next time. Adjust the yeast resting period. Swap toppings seasonally. Each batch teaches you something new about how semolina behaves, how your particular waffle iron performs, and what your palate prefers.
These waffles sit beautifully within Europe’s broader breakfast culture, where substantial morning meals aren’t rushed affairs but celebrations of craft and ingredients. Whether you’re leaning into Belgian tradition with powdered sugar or exploring German territory with quark and berries, you’re participating in centuries of breakfast excellence.
Ready for more semolina experiments? Our guide to crispy German waffles offers two additional techniques that’ll expand your morning repertoire even further.