

How to Make Belgian Waffles with Semolina Flour (Serious Eats-Inspired Recipe)
You can create bakery-quality Belgian waffles at home in about 90 minutes using the Serious Eats yeast-based method with one game-changing upgrade: substituting semolina flour for a portion of the all-purpose flour. This technique, borrowed from Italian and Central European bakers who prize texture above all, delivers an impossibly crispy exterior that stays crunchy for up to 30 minutes after cooking, even under toppings. The semolina’s coarser grind and higher protein content work with the yeast fermentation to build a waffle that shatters on first bite while maintaining a light, airy interior.
The connection to German baking traditions runs deeper than you might expect. While Belgian waffles claim Flemish origins, the obsession with proper crust development and yeast fermentation echoes across German pastry kitchens, from pretzel bakeries in Bavaria to the waffle stands at Christmas markets throughout the Rhineland. Master bakers in both traditions understand that patience during fermentation and the right flour choice make the difference between a soggy breakfast and something worth planning your morning around. This recipe respects that craft while making it accessible for your home waffle iron, no special training required.
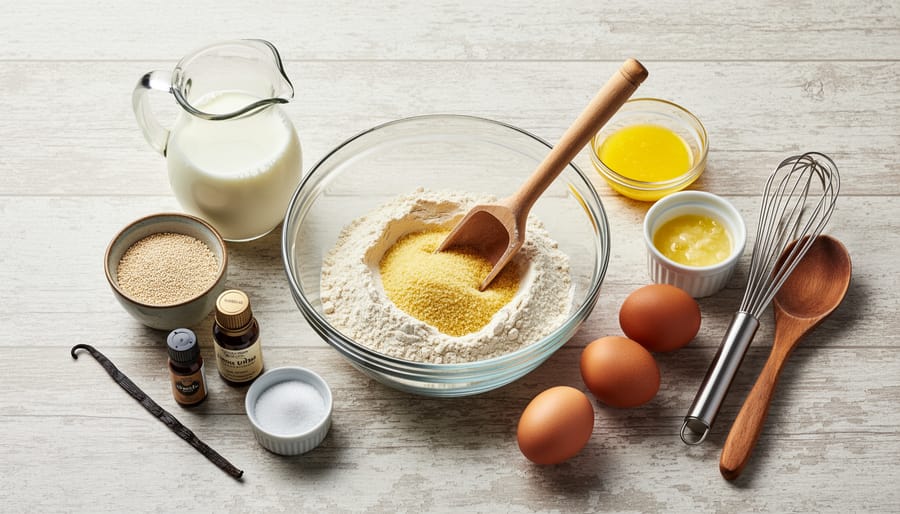
What You’ll Need: Ingredients and Equipment
The Semolina Advantage
Semolina flour has been a staple in European baking for centuries, appearing in everything from Italian pasta to German Grießkoch puddings and Belgian sweet breads. In traditional German bakeries, bakers have long used coarser flours to create textural contrast in breakfast pastries. Belgian bakers similarly prize ingredients that deliver both structure and flavor, which makes semolina a natural fit for waffle recipes that demand height and crispness.
“When I first experimented with semolina in my waffle batter, I was trying to replicate the texture I remembered from my grandmother’s Waffelhaus in Baden-Württemberg,” explains Klaus Reinhardt, pastry chef and owner of Berlin Café in Toronto. “The result was better than I expected. Semolina gives you that perfect shatter on the outside while keeping the interior almost custard-like. It’s not traditional for Belgian waffles specifically, but it follows the same logic German bakers have used for generations.”
The science behind semolina’s performance is straightforward. This coarse-ground durum wheat flour contains higher protein levels than standard all-purpose flour, typically between 12 and 13 percent compared to 10 to 11 percent. That extra protein develops more gluten structure, which supports the airy pockets created by yeast fermentation. The coarser grind also absorbs liquid more slowly, creating a batter that stays crisp longer after cooking. The result is a waffle that holds its texture even under heavy toppings, with a subtle nutty flavor that complements both sweet and savory accompaniments.
Safety and Storage Considerations
Before you begin mixing batter, understand the temperature boundaries that determine success or failure. Yeast is a living organism that activates between 105°F and 110°F, warm enough to wake it up, but cool enough to keep it alive. Use a thermometer to check your milk; anything above 120°F kills the yeast instantly, leaving you with dense, flat waffles that won’t rise. On the other end, milk below 95°F won’t activate the yeast properly, resulting in sluggish fermentation and hours of waiting.
When working with dietary adaptations, prevent cross-contamination by using separate utensils and mixing bowls if someone in your household has celiac disease or severe allergies. Even trace amounts of regular flour can cause reactions, so dedicate specific equipment to gluten-free versions if you’re experimenting with alternative flour blends.
Fresh waffle batter tolerates a brief rest at room temperature, up to two hours after the initial rise, but refrigeration changes its behavior. Cold batter from the fridge needs 20 to 30 minutes to return to room temperature before cooking, otherwise the thermal shock produces gummy interiors. Don’t store batter longer than 12 hours refrigerated; the yeast exhausts its food supply and the mixture develops off flavors.
Finished waffles freeze beautifully for up to three months. Cool them completely on a wire rack, then stack with parchment paper between each waffle before sealing in freezer bags. Reheat directly from frozen in a 350°F oven for eight to ten minutes, which restores crispness far better than microwaving. The semolina structure holds up particularly well to freezing, maintaining that characteristic crunch even after storage.
Step-by-Step: Making Semolina Belgian Waffles
Phase 1: Activate the Yeast and Prepare the Batter
Start by warming your milk in a small saucepan or microwave-safe measuring cup until it reaches between 105 and 110°F, this narrow yeast temperature range is critical because hotter liquid kills the yeast and cooler won’t activate it properly. Use an instant-read thermometer rather than guessing; the milk should feel warm but comfortable against your wrist, like bathwater for a baby. This precision matters more with yeast-raised batters than quick batters, and it’s a habit borrowed from German bread-baking traditions where temperature control separates mediocre results from exceptional ones.
- Proof the yeast: Pour the warmed milk into a large mixing bowl, then whisk in 2 tablespoons granulated sugar and 2¼ teaspoons (one standard packet) active dry yeast. Let this mixture sit undisturbed for 8 to 10 minutes. You’ll know it’s ready when the surface becomes foamy and smells pleasantly yeasty, with a light tan layer of bubbles covering the top. If nothing happens after 12 minutes, your yeast is dead or the milk temperature was off, start over rather than waste the remaining ingredients.
- Add the fats and eggs: Once proofed, whisk in 8 tablespoons (1 stick) melted and slightly cooled unsalted butter, followed by 2 large eggs lightly beaten. The butter shouldn’t be hot enough to scramble the eggs; lukewarm works best. Whisk until the mixture looks uniform and slightly frothy, about 30 seconds of steady whisking.
- Combine the dry ingredients: In a separate bowl, whisk together 1 cup semolina flour, 1 cup all-purpose flour, and ¾ teaspoon fine sea salt. This 50-50 blend gives you semolina’s structure and nuttiness without the dense chew of pure semolina. Add 1 teaspoon vanilla extract to the wet mixture if you want a subtle sweetness.
- Fold wet into dry: Pour the yeast mixture over the flour blend and fold gently with a silicone spatula, using broad strokes from the bottom up. Stop as soon as no dry flour pockets remain, the batter will look thick, shaggy, and lumpy, almost like a very wet biscuit dough. Overmixing develops gluten and creates tough waffles, so resist the urge to whisk it smooth. A few small lumps are fine and will hydrate during the rise.
The finished batter should pour slowly and heavily, thicker than pancake batter but not stiff enough to hold peaks. It won’t look pretty at this stage, but that rough texture is exactly what you want before the yeast works its magic.
Phase 2: First Rise and Resting
Step 5: Cover and Set Aside for Rising
Transfer your mixed batter to a large bowl if you haven’t already, leaving plenty of room for expansion. Cover the bowl tightly with plastic wrap or a clean kitchen towel. This prevents a skin from forming on the surface, which would interfere with the rise. Place the bowl in a warm, draft-free spot in your kitchen. The ideal temperature range is 75-80°F. In cooler kitchens, you can create a warm environment by placing the bowl near (not on) a warm stovetop or inside an oven with just the light on.
Step 6: Watch for the Visual Cues
Let the batter rise undisturbed for 60 to 90 minutes. In a warmer kitchen, you’ll hit that doubled volume closer to the 60-minute mark. Cooler spaces need the full 90 minutes, sometimes longer. You’re looking for specific signs: the batter should roughly double in size, with a bubbly, almost foamy surface. You might see large bubbles breaking through the top. This active fermentation is what creates those deep pockets in your finished waffles.
There’s a German saying in traditional bakeries: “Geduld bringt Rosen,” meaning patience brings roses. German baking culture values this waiting period. It’s not idle time but essential transformation. The yeast is developing complex flavors while creating the structure that semolina needs to shine. Resist the urge to rush this step, it makes all the difference.
Phase 3: Cooking the Waffles
Step 7: Preheat Your Belgian Waffle Iron
Plug in your Belgian waffle iron and set it to medium-high heat, around setting 4 or 5 if yours has numbered controls. Let it preheat for at least 5 minutes. You want the plates scorching hot before the batter hits them. A properly heated iron creates that immediate sizzle that sets the exterior while steam develops inside. If your model has an indicator light, wait until it signals ready, then give it another minute. Test the temperature by flicking a few drops of water onto the plates; they should evaporate instantly with an aggressive sizzle.
Step 8: Grease (If Necessary) and Ladle the Batter
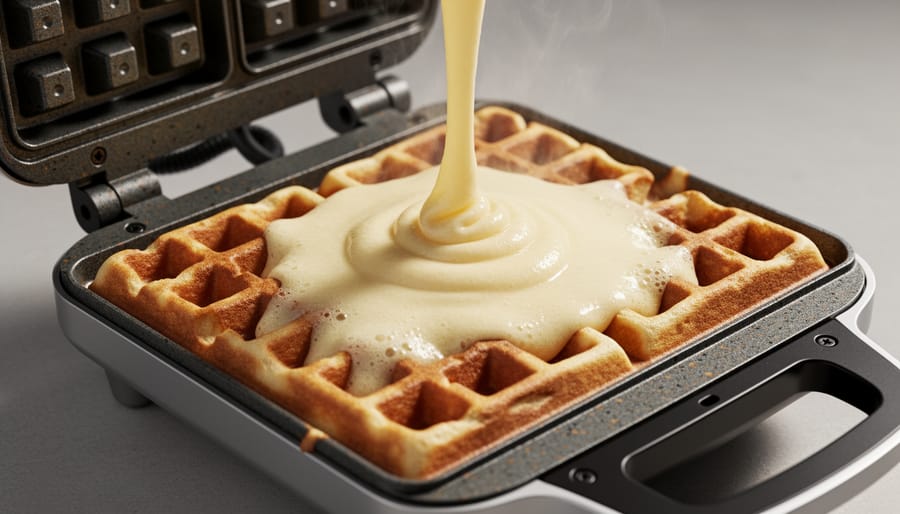
Most modern Belgian waffle irons have nonstick surfaces, but a light brush of melted butter or neutral oil on the plates prevents sticking and adds flavor. Give your risen batter a gentle stir, it will have deflated slightly, which is normal. Ladle approximately three-quarters to one cup of batter onto the center of the lower plate, depending on your iron’s size. The batter should spread toward the edges but not quite reach them; it will expand as it cooks.
Step 9: Close and Resist Opening
Close the lid firmly and set a timer for 4 minutes. Here’s where the Serious Eats technique matters most: do not open the iron to check progress. Opening releases steam that’s critical for the waffle’s structure and causes the developing crust to tear. You’ll see steam billowing from the sides initially, then tapering off around the 3-minute mark. When steam production slows dramatically, your waffle is close.
Step 10: Remove and Repeat
At 4 to 6 minutes, carefully lift the lid. The waffle should be deep golden-brown and release easily. Use a fork or silicone-tipped tongs to lift it out, never metal utensils that scratch nonstick coatings. Transfer to a wire rack, not a plate, so air circulates and the bottom stays crisp. Repeat with remaining batter, re-greasing the iron only if waffles start sticking.
Troubleshooting Common Issues
Batter too thick? Add milk one tablespoon at a time until it reaches a pourable but not runny consistency, think thick pancake batter. Semolina absorbs more liquid than all-purpose flour, so this is normal. Too thin? Whisk in an extra tablespoon of semolina flour and let it rest five minutes before cooking.
Sticking waffles usually mean insufficient fat. Brush your iron with melted butter between every other waffle, even if it claims to be nonstick. Let the iron reheat fully after greasing.
Pale waffles indicate low iron temperature or undercooking. Increase your heat setting and resist opening the iron before the steam stops. Burnt exteriors with raw centers? Lower the temperature and cook longer, semolina needs time to hydrate through.
Gritty texture means your semolina wasn’t fine enough or the batter didn’t rest adequately. Use fine semolina flour, not coarse semolina, and ensure the hour-plus rise time. This hydration period is critical.
At high altitudeadd two extra tablespoons of milk and reduce yeast by one-quarter. In humid climatesstart with slightly less liquid. Thin Belgian irons cook faster than thick models, adjust timing down by a minute and watch closely.
How to Tell Your Waffles Are Perfect
Knowing when your semolina Belgian waffles have reached perfection isn’t guesswork, it’s a matter of recognizing specific sensory signals that tell you the texture and flavor have come together exactly right.
Start with your eyes. A properly cooked waffle should display a deep, even golden-brown color across its entire surface, not pale yellow or burnt at the edges. As the waffle finishes cooking, you’ll notice the amount of steam escaping from the iron drops significantly, sometimes stopping altogether in the final thirty seconds. The grid pattern should be well-defined, with crisp peaks and valleys that catch the light.
Next, test the texture. Lift the waffle with tongs or a fork, it should feel substantial but not heavy, and the exterior must stay rigid rather than drooping or bending. Break off a corner and listen for that satisfying light crunch. The semolina delivers a more pronounced snap than all-purpose flour alone, creating a shell that shatters delicately rather than turning soft immediately. Inside, the waffle should pull apart to reveal an airy, tender crumb with visible small holes from the yeast fermentation.
- Deep golden-brown color with no pale spots or scorching
- Minimal to no steam escaping from the iron in the final moments
- Rigid exterior that holds its shape when lifted
- Audible crunch when you break or bite into it
- Tender, hole-filled interior that tears easily
- Nutty, slightly sweet flavor with wheaty depth from the semolina
The taste test reveals the semolina’s true contribution. You should detect a subtle nuttiness and wheaty complexity that standard Belgian waffles lack, along with balanced sweetness that doesn’t overwhelm. Traditional Belgian waffles made with all-purpose flour offer a softer, more cake-like experience, while this semolina version gives you pronounced textural contrast, that restaurant-quality crispness that stays intact even as the interior remains pillowy and light.
Serving Suggestions and Pairings
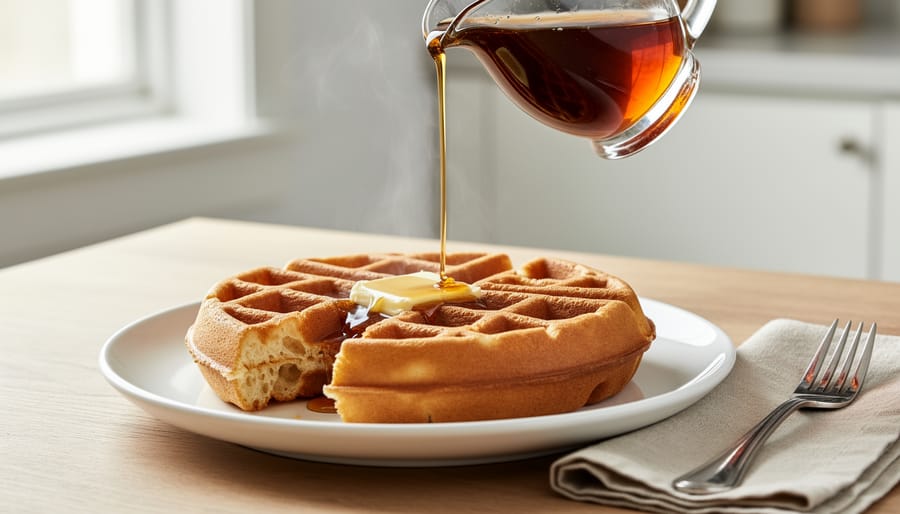
Serve your semolina Belgian waffles immediately while they’re hot, straight off the iron, to preserve that signature crisp exterior. The semolina’s coarser texture stays crunchier longer than standard waffles, but heat is still your friend for peak texture.
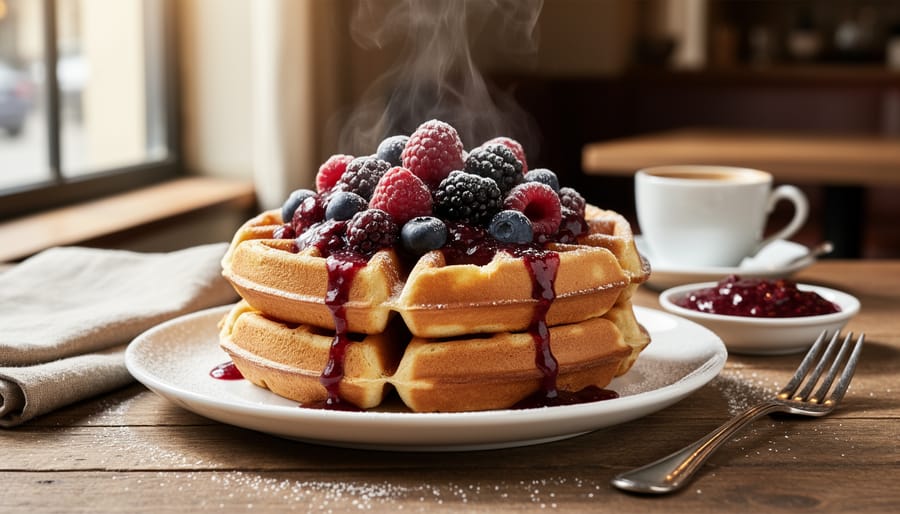
For traditional Belgian simplicity, dust with powdered sugar and add a dollop of unsweetened whipped cream. If you want pearl sugar’s characteristic crunch, press a tablespoon into the batter just before closing the iron (it caramelizes beautifully against the semolina’s nutty flavor). Berry compotes, especially lingonberry or black currant, offer the tart contrast that cuts through the waffle’s richness.
German-inspired toppings bring deeper, Old World flavors. Spread warm Apfelkompott (spiced apple compote) across the waffle’s deep pockets, or try powdered sugar with Kirsch-macerated cherries for a Black Forest twist. Nutella works surprisingly well here; the semolina’s grainy texture contrasts with the smooth hazelnut spread. For a savory breakfast, top with crème fraîche and smoked salmon, though most German home cooks would stick with sweet preparations.
Beverage pairings matter for a proper 2026 brunch. Strong German-style filter coffee (Filterkaffee), not espresso, is the traditional choice, brewed darker and served in larger cups than typical American coffee. Milchkaffee (half coffee, half steamed milk) suits weekend mornings. For non-coffee drinkers, black tea with a splash of cream or fresh-pressed orange juice rounds out the meal.
If you’re exploring variations, check out other semolina waffle recipes that adapt regional European techniques. The key is serving temperature: these waffles lose their magic when they sit too long, so plate them quickly and eat them hot.
Frequently Asked Questions
Can I make these without yeast?
You can substitute baking powder (2 teaspoons per cup of flour) for a quicker version, but you’ll lose the characteristic tang and airy interior that yeast provides. The texture will be more like American waffles, still delicious with semolina’s crispness, but not authentically Belgian.
Can I substitute other coarse flours for semolina?
Cornmeal works in a pinch and delivers crispness, though with a distinctly different flavor. Fine polenta (not instant) also substitutes well at a 1:1 ratio. Avoid regular whole wheat flour as it lacks semolina’s coarse texture and nutty sweetness.
How does this differ from the original Serious Eats recipe?
The core yeast-raised method remains identical, we’ve simply replaced half the all-purpose flour with semolina for extra crispness and a subtle nutty flavor. The fermentation time and technique follow Serious Eats exactly, ensuring those signature deep pockets and golden exterior.
Can I make the batter ahead?
Yes, refrigerate it after the first rise for up to 12 hours. Let it sit at room temperature for 20 minutes before cooking, and expect a slightly tangier flavor from the extended fermentation, many bakers prefer this depth.
Are these authentically Belgian or German?
The yeast-raised technique is traditionally Belgian, but semolina’s use in European baking, including German breakfast pastries, creates a cross-cultural connection. Think of this as a European breakfast hybrid that honors multiple traditions.
What if I only have a regular waffle iron?
Standard irons work fine but cook faster (2-3 minutes) and produce thinner, crispier waffles without the deep pockets. Reduce your batter amount per waffle by about one-third to prevent overflow.
These waffles pair beautifully with both sweet and savory toppings, making them versatile for any German-style breakfast spread. If you’re feeling adventurous beyond the traditional berry compotes and whipped cream, explore savory brunch ideas like creamy mushrooms or smoked salmon. The semolina’s nutty base complements rich, earthy flavors surprisingly well, proving these waffles transcend the sweet breakfast category.
This semolina-enhanced Belgian waffle recipe proves that the best traditions evolve when you’re willing to experiment. By adapting Serious Eats’ methodical yeast-raised technique with semolina flour, you’ve created waffles with a texture that stands apart, golden exteriors that shatter with each bite, interiors that stay impossibly tender, and that subtle nutty flavor threading through every mouthful. It’s a bridge between Belgian precision and the European grain traditions that have shaped breakfast tables from Antwerp to Bavaria for generations.
Don’t stop here. Adjust the semolina ratio to find your perfect balance. Try different toppings inspired by German kaffeeklatsch spreads or Belgian street vendors. If you’re craving more ways to use this remarkable flour, explore our guide to crispy semolina waffles for additional breakfast inspiration.
These waffles connect to something larger, the rich breakfast culture that defines European mornings, where taking time to prepare something exceptional isn’t indulgent, it’s essential. That’s the spirit we celebrate here, and we’d love to hear how your version turns out.